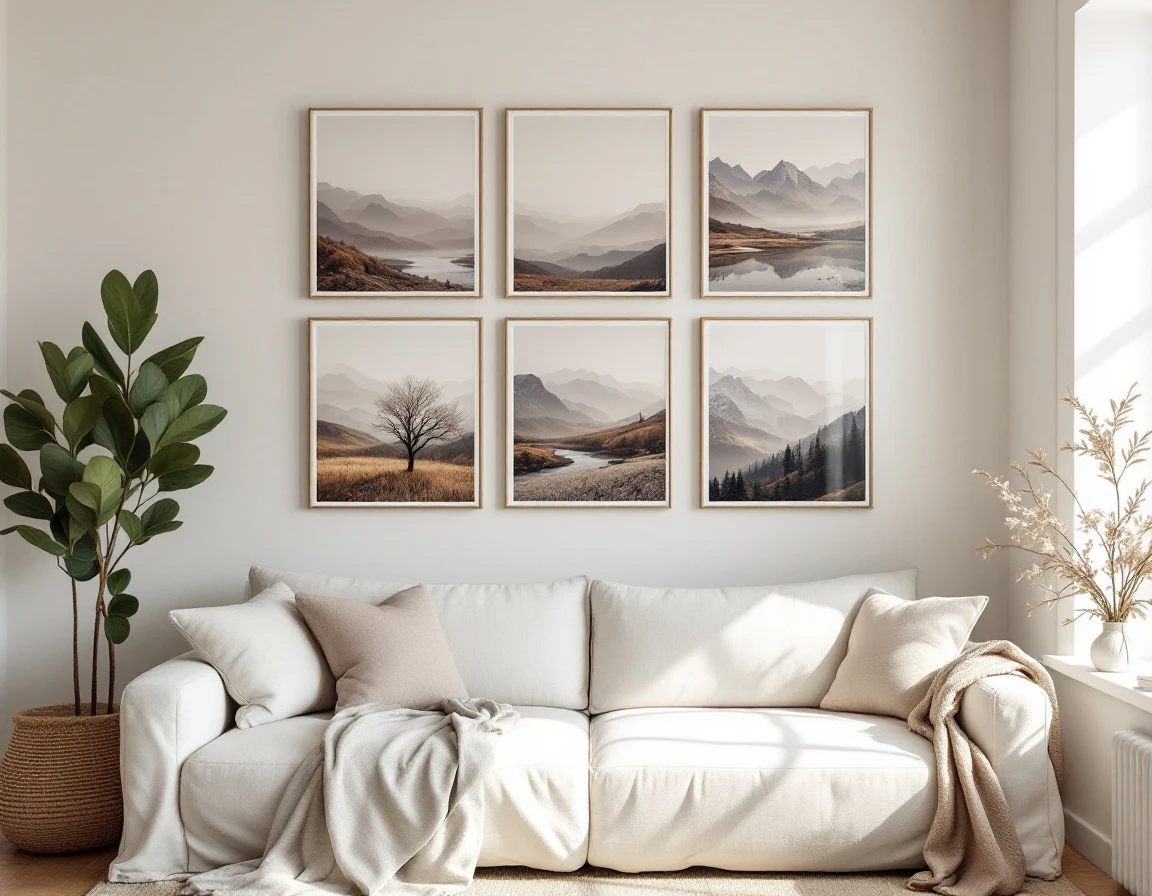
A gallery wall made from framed art prints is a project with a long history of going wrong in the same way: the frames don't quite match, the images weren't designed to sit next to each other, the spacing looks arbitrary, and the whole thing reads as accumulated rather than considered.
A gallery wall made from assembled puzzle panels has a structural advantage that art-print walls don't: if the panels were designed as a set - generated from a single prompt, sharing a palette, built with complementary compositions - the coherence is built in. You are not curating twelve things that happened to look adjacent. You are installing one thing in twelve pieces.
This guide is about how to build that wall: the planning, the math, the mechanics, and the decisions you will need to make before you start.
Step 1: Decide on the Format
The three formats are the Triptych (3 panels), the Hex (6 panels), and the Atelier (9 panels).
Triptych is for a horizontal strip or vertical column. Three panels in a line. This works above a sofa, above a bed, above a console table, or in a narrow corridor. It is the lowest-commitment entry point and the easiest to install. A horizontal Triptych spans approximately 1,600 millimetres - roughly the width of a standard three-seat sofa.
Hex is for a 3×2 or 2×3 grid. Six panels make a statement without requiring the wall space of nine. A 3×2 grid is approximately 1,600 millimetres wide and 860 millimetres tall, which fits most walls with a ceiling height of 2.4 metres or more. This is the format that reads most clearly as a gallery wall - defined, substantial, deliberate.
Atelier is for a 3×3 grid. Nine panels covering approximately 1,600 by 1,270 millimetres. This is a room-defining installation. It works in living rooms and studios; it is too large for most bedrooms and most corridors. The 3×3 grid is the format where the image design matters most, because a poorly composed nine-panel work looks like a grid of tiles. A well-composed one looks like a single large-scale work that happens to be made of puzzles.
Step 2: The Layout Math
Each assembled panel is 530 × 390 millimetres. These are fixed dimensions - the puzzle format doesn't change regardless of the tier.
The standard inter-panel spacing is 30 millimetres. This gives the panels breathing room without making the grid feel disjointed. At 20 millimetres, the panels read as a single dense field. At 50 millimetres, they read as separate objects that happen to be arranged together. 30 millimetres is the proportion at which they read as a deliberate set.
Triptych (horizontal strip)
Width: (530 × 3) + (30 × 2) = 1,650 mm
Height: 390 mm
Total wall area needed: approximately 1,800 mm wide × 500 mm tall (including margins)
Hex (3×2 grid)
Width: (530 × 3) + (30 × 2) = 1,650 mm
Height: (390 × 2) + (30 × 1) = 810 mm
Total wall area needed: approximately 1,800 mm wide × 960 mm tall
Atelier (3×3 grid)
Width: (530 × 3) + (30 × 2) = 1,650 mm
Height: (390 × 3) + (30 × 2) = 1,230 mm
Total wall area needed: approximately 1,800 mm wide × 1,380 mm tall
The "total wall area needed" figures include a 75 mm margin on each side - enough to keep the installation from touching adjacent walls or furniture. If you have less wall space than this, measure the actual available width and subtract 150 mm for the margins; then see whether the remaining width allows the standard 30 mm inter-panel gap or requires adjustment.
Step 3: Palette Planning
If you are generating your panels through an AI design system, palette planning happens in the prompt. You describe the colours you want, or the reference image you have in mind, and the generation system maintains those colours across all panels.
The most common mistake in palette planning is being too specific too early. "Sage green, terracotta, and warm cream" produces panels that feel locked to a colour scheme. "Muted greens and earth tones with good contrast" produces panels that feel cohesive without feeling matched.
The exception is when the space you are installing into has a very specific colour palette - a dark-painted room, a white-on-white Scandinavian room, a room with strong architectural colour. In these cases, generating against the room's palette rather than abstractly produces better results. Describe the room, or describe what you want the panels to feel like in the room, rather than describing the image itself.
What Works on Different Wall Colours
White or off-white walls: Everything works. White walls are gallery walls by default. If you are working with a white wall, the constraint is not the wall - it's the adjacent furniture and the light source.
Dark walls (deep green, navy, charcoal): Light palettes - pale neutrals, soft whites, warm creams - contrast well against dark walls and look considered rather than accidental. Avoid high-chroma palettes on dark walls; they compete.
Warm-toned walls (terracotta, rust, warm grey): Cool palettes work as contrast. Warm palettes within the same tone family as the wall require more careful design - you want the panels to stand out from the wall without clashing.
Step 4: Mounting Options
Standard picture-hanging hardware
Each panel ships with standard D-ring hanging hardware and picture-hanging strips. This is the default mounting method. Each panel hangs independently, which means you need to mark and level twelve individual hanging points for an Atelier (nine panels × 1 nail or strip each, with panel-hanging hardware taking one point per panel in some configurations).
The challenge with independent hanging is maintaining consistent spacing. Use a long spirit level and a pencil to mark the top edge of each panel's position before hanging anything. Tape the panels' arrangement on the floor first to confirm the layout.
Panel position marking method:
- Mark the horizontal centre line of the installation on the wall with a spirit level.
- For each column, mark the vertical centre line.
- Work from the centre outward, marking the top-edge position of each panel.
- Hang the centre panel first, then work outward.
Slotted aluminium mounting strip
The optional mounting strip ($40 for any tier) is a slotted aluminium rail that attaches to the wall at the top and holds all panels in a row at a consistent height and spacing. Each panel clips into the strip with a recessed mount on the panel's backing board.
The mounting strip is recommended for Hex and Atelier installations, where maintaining consistent inter-panel spacing across multiple rows is otherwise difficult. It is also recommended on walls where you cannot guarantee the wall surface is flat - plaster walls with texture, walls with horizontal batten lines, older walls with irregular surfaces.
The strip requires one horizontal line of wall fixings per row. For a 3×2 grid, that's two strips. For a 3×3, three strips. The strip spans the full width of the installation.
Framing
Individual panels can be framed if you prefer a more formal installation. The assembled puzzle fits a standard 530 × 390 mm frame, which is not a common off-the-shelf size; you will need to source frames specifically.
Framing adds cost and weight. It also changes the visual character of the installation: framed panels read as individual artworks hanging together; unframed panels read as a single modular work. The unframed reading is usually the stronger one for a cohesive multi-panel set.
Step 5: Assembly and the Order of Operations
Do not install panels as you assemble them. Assemble all panels first, confirm the layout on the floor, then install.
Assembling the full set on the floor before installation lets you:
- Confirm the palette coherence across all panels in context
- Identify any panel that doesn't read correctly in the set (orientation issues, colour calibration differences that become visible at this stage)
- Experience the full composition before committing to the wall
Once you've assembled and confirmed the set, the installation can happen in one session rather than in stages that leave you with an incomplete wall for days.
For Triptych installations, the assembly-to-installation sequence is: assemble all three, arrange on the floor in final position, mark the wall, hang all three.
For Hex and Atelier, install the mounting strips first (if using), then clip in each panel row by row, starting from the top.
Step 6: What to Do With the Slipcases
Each panel optionally ships in a clear acrylic slipcase (+$15/panel). If you add slipcases, they serve as storage when the panels are not on display and as protective sleeves for the assembled puzzle during the period before installation.
A set of slipcases also allows you to rotate the wall - to take panels down, store them, and potentially replace individual panels with new ones over time. The slipcase stack is a collection in its own right. On a shelf or in a storage unit, nine slipcases spine-out resemble a run of art books or record sleeves.
What the Finished Wall Is
A gallery wall made from coordinated puzzle panels is, at its best, a work of art that you made. Not in the romanticised sense of artistic authorship - you described it, the AI generated it, and the printing process produced the physical object. But in the literal sense: you assembled every piece of every panel. You touched it thousands of times. The final object on the wall bears the marks of that process in ways that are visible only if you know to look.
The fit of the pieces, where two that look identical are distinguished by a half-millimetre difference in tab shape. The slight variation in how assembled sections hold together. The tactile knowledge of which corner was the last to fall into place.
Most art on walls is received. This was made, in part, by the person looking at it.
The Studio generates all panels from a single prompt - shared palette, complementary compositions, one cohesive wall. Pricing starts at $135 for a Triptych. The gallery has example compositions in eight different visual directions.